
This guide takes you from no store to a store ready to receive its first order: creating it, the general settings, and the order in which to configure the rest.
Create the store
Your stores are listed under E-commerce, the first page you see after signing in. Click Create e-commerce and fill in:
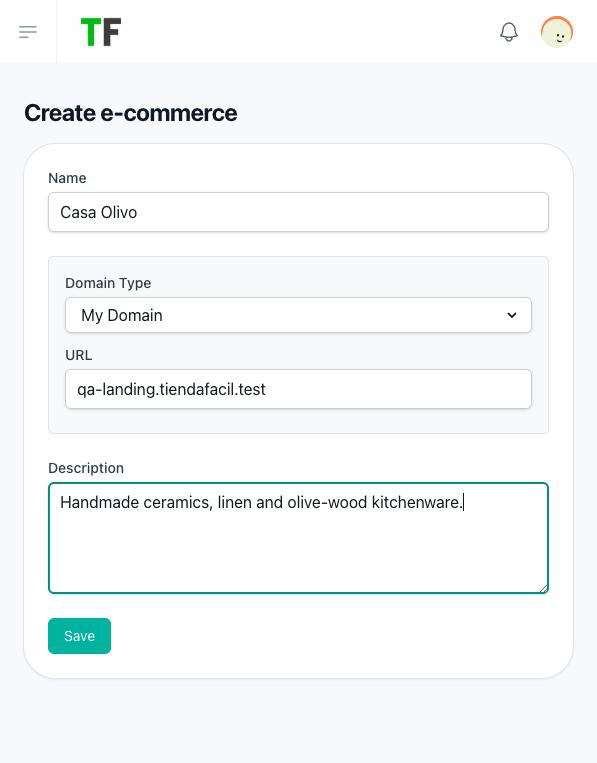
| Field | What it is |
|---|---|
| Name | The name of the store. It appears in the panel, in the store's menu and in the emails. |
| Domain Type | The address of the store, on a domain you own. See The store's address. |
| Description | Optional, up to 255 characters. The default design shows it in the store's footer. |
When the store is created:
- You are its owner, and you are the only person on the two email lists of the store, the one for orders and the one for Stock Requests. See Order and stock emails.
- The store's currency is the first currency of the platform.
- The store opens with the pages of the default design, so it already has a home page, a product list, categories, a product page, a cart, a contact page and a wishlist.
- Shipping is free, and no payment or delivery method is turned on yet.
The general settings
Open Settings in the store's menu. The General information tab holds:
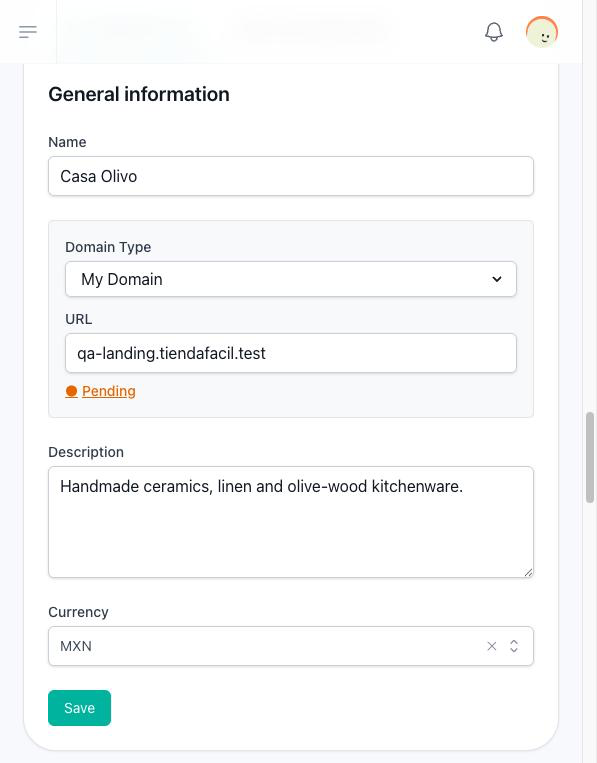
| Field | What it changes |
|---|---|
| Name | The store's name. |
| Domain Type | The store's address. See The store's address. |
| Description | The text in the store's footer. |
| Currency | The currency every price of the store is shown in, such as $1,250.00 MXN. The list is the platform's catalogue of currencies. Changing it changes how prices are written, not the amounts: no price is converted. |
The column on the left holds:
| Setting | What it changes |
|---|---|
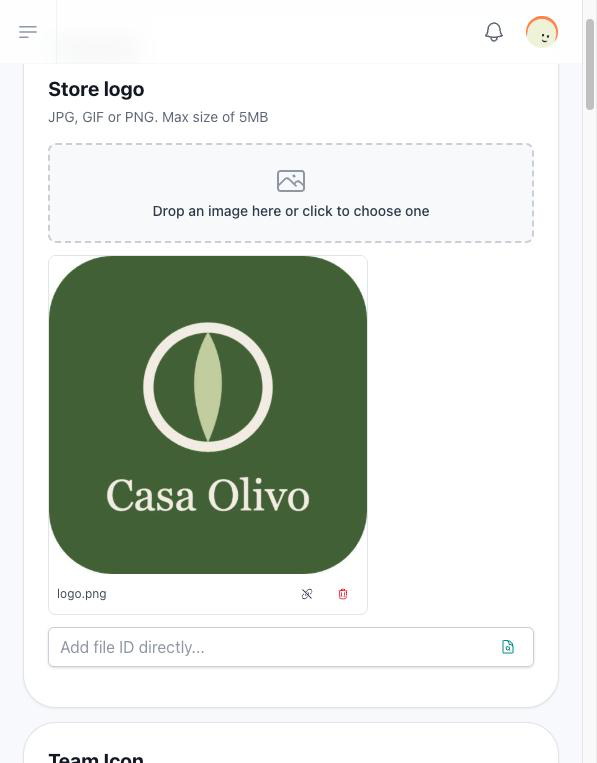
| Store logo | The image that identifies the store in the panel and on your store: the default design shows it in the menu, in the menu that opens on a phone and in the footer, unless the store has a Team Icon, which those places show first. With neither, they show the store's name. JPG, PNG, GIF, WEBP, HEIC or AVIF, up to 5 MB. |
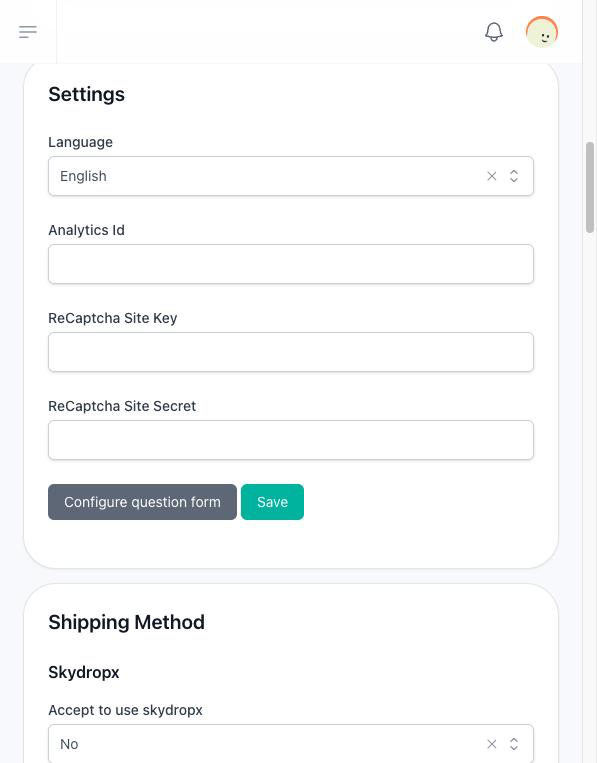
| Language | The language your store is shown in. Its menus, buttons, checkout and customer account pages appear in it for every visitor, whatever language their browser or their account uses. It is required; a store with none saved, or with one the platform does not offer, is shown in Spanish. It does not translate anything you write. |
The Language does not reach the pages where someone signs in or registers on your store, your store's panel or the platform's own pages: those stay in the language of the person using them.
Changing settings takes the Edit Settings permission of the team. Without it, you can read every setting but not change it: the fields are shown but disabled, the image uploads and every Save button are hidden, and Select Courier, Configure intermediate points and Configure question form are disabled. The fields of the store's address are the only ones that still respond. With no Save button the store keeps its current address, although Confirm Domain still registers the domain you write there.
The store's address
The address is chosen with Domain Type, both when you create the store and in General information. Choose My Domain, for a domain you already own, and write it in URL without www, such as mystore.com. Click View Configuration Instructions to see the DNS records to create with your domain provider, then Confirm Domain, and save the form. Once it is confirmed, the status next to the field — Healthy, Pending or Error — opens the Domain Checker, which shows whether the DNS and the SSL certificate are ready.
No two stores can use the same address. Connect your domain explains each step.
What to configure before you sell
A customer can only finish a purchase when the store offers at least one payment method and one way to receive the order. Go through these in order:
- Your products. Create them under Sells → Products. See Products.
- How you deliver. Under Shipping Method in the settings, turn on pickup in store, home delivery, intermediate points or Skydropx. Pickup in store also needs at least one store location. See Shipping and pickup.
- How you get paid. Under Payment Credentials, turn on Mercado Pago, bank transfer or pay at pickup. See Get paid.
- Who hears about orders. Under Emails, choose the people who receive the emails of new orders and of Stock Requests.
- How the store looks. Under Business Information, add your slogan, address, schedule, phones, colour and background image. See Your storefront.
What depends on your plan
Some parts of the store appear only when your plan includes them, or when you add them as add-ons: inventory, product variants, measurement units, delivery time, limited-time products, dynamic fields, Mercado Pago, bank transfer and Skydropx. While a part is not included, its fields are not shown on the product form or in the settings. What TiendaFácil is lists what each one opens.